


Introduction
When you upgrade to Windows 8 there may be situations where your personal documents are not transferred to the new version of Windows. These reasons may include permission issues on the files or folders or because you selected the Keep Nothing option when you upgraded to the newer version of Windows. If your personal document folders are empty after an upgrade that does not mean that your data is lost. It just means that the Windows setup program had a problem transferring it over or you specified not to. As the Windows upgrade process backs up your data to the backup C:\Windows.old folder, we can use that folder to restore your data. Therefore, make sure you do not delete the C:\Windows.old folder before you confirm that all your data has been safely migrated to the new version of Windows. This guide will help you recover your missing data from the Windows.old folder using a manual method and through a utility from Microsoft.
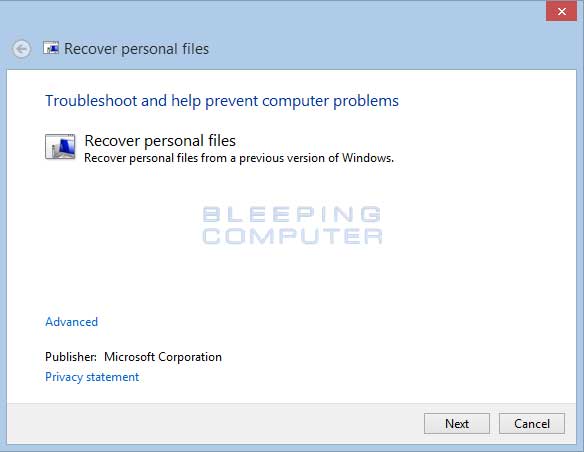
Microsoft has a utility called the Recover Personal Files tool that can be used to automate the process of recovering missing data from a Windows 8 upgrade. When you run this tool it will scan the user profile in the C:\Windows.old folder for the currently logged in user. If it finds any issues it will repair them and will then copy any personal data files from your old Windows version to your Windows 8 user profile. As this process only scans the currently logged in user, you will need to login to each user account who has missing data that you wish to recover.
To download the Recover Personal Files tool, please go to this url:
Once the utility is downloaded, double-click on it to start the program. You will now be at the start screen for the tool.
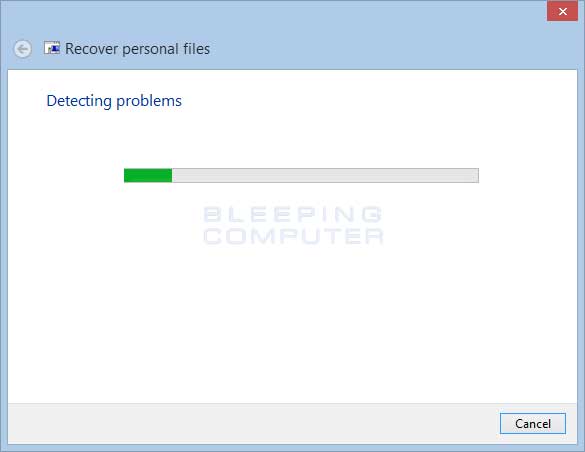
To continue please click on the Next button and the tool will start to scan the C:\Windows.old user profile folders for any issues that may have prevented your data from being copied. If it finds any issues it will automatically repair them and then copy your data to the C:\Users\ user profile folder for the currently logged in account.
When this process is done, you will be presented with a summary of actions that were completed.
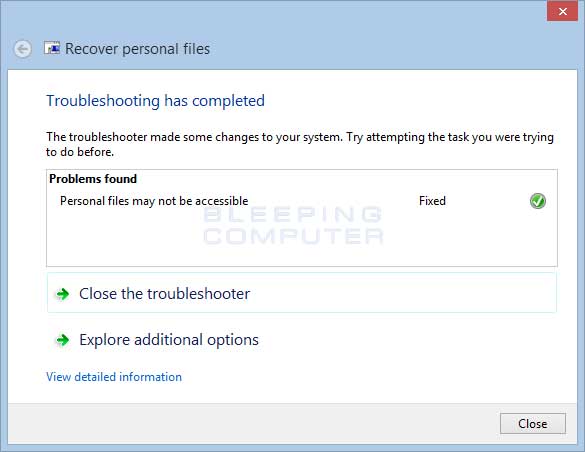
To see more details you can click on the View detailed information option. Otherwise you can click on the Closebutton to close the program.
You should now be able to access your data when you open your libraries such as Documents or Pictures.
When Windows performs an upgrade it creates a folder called Windows.old and stores the previous Windows's user profile folders inside it. This allows you to manually copy any data that may have been left behind from the C:\Windows.old folder to your new account in Windows 8. This process should be repeated for each individual user on your machine whose data was not migrated. When performing these steps you should be logged in as the user whose data you wish to recover.
To copy your data from the C:\Windows.old folder, open File Explorer by using the Win+E keyboard combination. To use this combination, simply hold down the Windows key with one finger and then tap the E key on your keyboard. This will open the File Explorer windows in a screen that shows all the available drives on your computer.

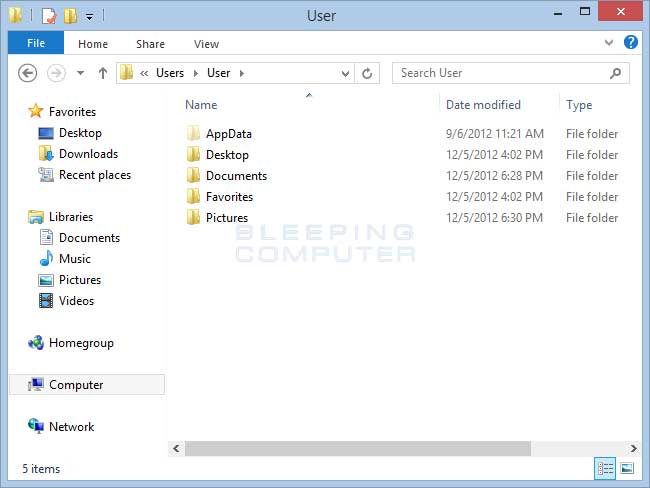
Double-click on the C: drive and then navigate to the C:\Windows.old\Users folder if upgrading from Windows Vista or Windows 7 by double-clicking on the various sub folders that appear. If you are upgrading from Windows XP, then navigate to the C:\Windows.old\Documents and Settings folder instead. You will now be at a screen that displays the various folders for each user on your computer.
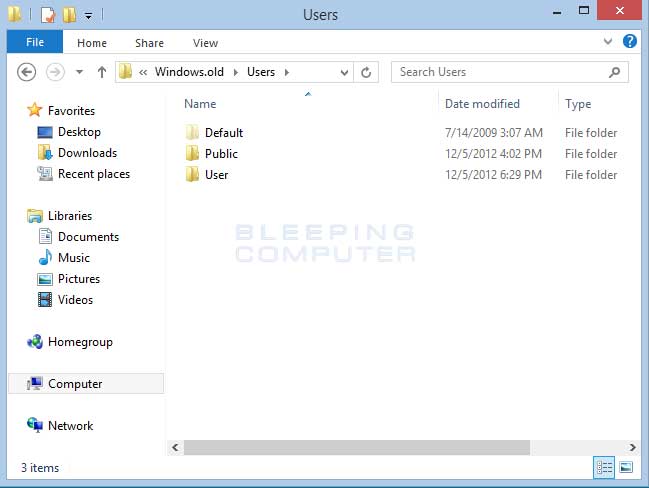
To restore the data for the user you are logged in, double-click on that user's folder name. For example, in the above image the User account has the User folder name. This will then open that user's profile folder where you can see various data folders such as Documents, Pictures, Videos, Favorites, etc.
Now open the folder containing the data you wish to recover by double-clicking on it. For example, to copy the pictures that may have been left behind, double-click on the Pictures folder. When the folder opens, press the Ctrl+Akeyboard combination to select all the files in that folder. Then right-click on any of the selected files to make a context-menu appear as shown in the image below.
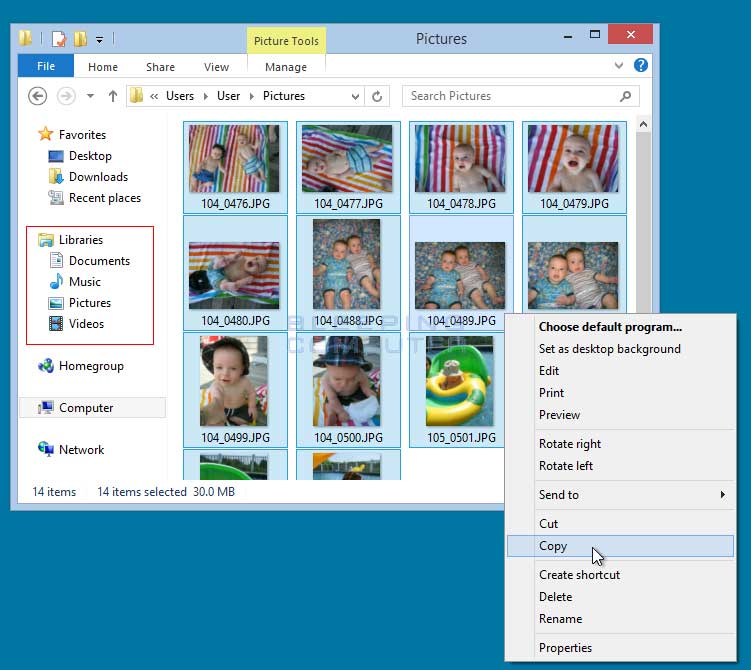
Then highlight and select Copy, which will copy the selected of files into memory.
In the same File Explorer window you will also see a section labeled Libraries which is indicated by the red box in the image above. The Library folders represent the folders associated with your Windows 8 account that we want to copy the old data into. Select the appropriate library folder for the data we are copying and left-click once on it to select it. As we are copying pictures, we would select the Pictures library. Once you select it, the screen will change and show the contents of that folder.
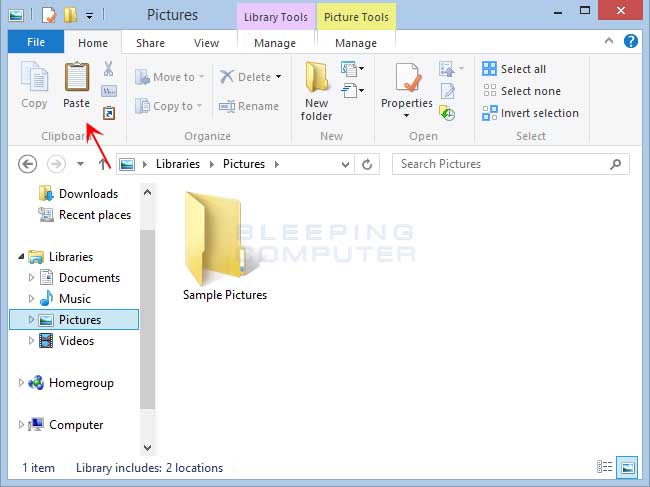
Once the library is open, click on the Home tab and then click on the Paste button as shown in the image above. Windows will now copy all of the files you selected from your C:\Windows.old folder and copy them into this one. When it is done copying the files, you should see that your old files are now recovered and located in the library you selected.

You can now repeat this process for any of the other data folders under the C:\Windows.old folder until you have recovered all of your missing data. When you are done you can then close the File Explorer window.
Post a Comment